Похожее видео
×
etrailer Trailer Hitch Installation - 2014 Ford Escape - Curt
Видео: etrailer Trailer Hitch Installation - 2014 Ford Escape - Curt
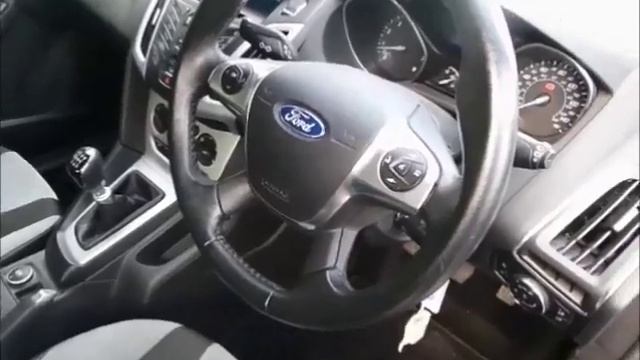
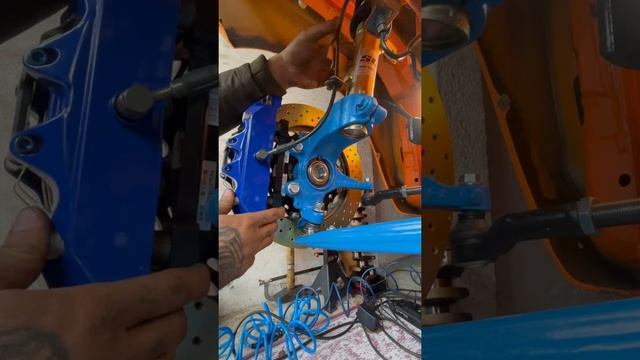
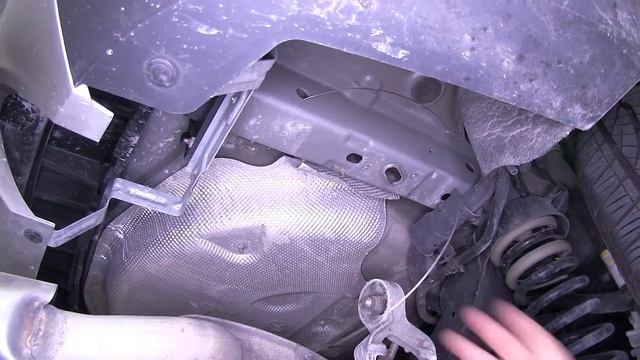
Click for more info and reviews of this CURT Trailer Hitch: Dont forget to subscribe! Full transcript: Today on our 2014 Ford Escape were going to be taking a look at and installing the Curt Trailer Hitch Receiver to the Class 3 hitch part number C13186. Heres what the hitch is going to look like once its installed on the vehicle. As you can see there isnt a whole lot visible other than this receiver tube because that cross tube is nicely tucked up behind the fascia here. If youre looking for something that is going to be primarily used for bike racks and cargo carriers but occasionally to pull a trailer this is going to be a really good bet. Here weve got the standard 12-inch hitch pin hole thats going to be used to secure anything into our receiver tube along with our surrounded steel safety chain loops that are just welded to the underside here. This hitch features a 350 lb. tongue weight rating along with a 3500 lb. gross trailer weight rating. Those weights are upped to a 500 lb. tongue weight rating and a 5000 lb. trailer weight rating with a weight distribution system. You will want to be sure to refer to your cars owners manual to see what type of weight its rated for. Next well give you some measurements to help assist in selection of hitch-mounted accessories such as ball mounts bike racks and cargo carriers. The distance from the center of the hitch pin hole to the outermost part of the rear bumper is 4-12 inches and the distance from the top inside edge of the receiver tube opening to the ground is 14 inches. Now lets go ahead and install it. The first thing well need to do to begin our install is take a 13 mm and remove the bolts that are right here on the exhaust hanger and just let it hang. There are two more on the other side and well remove them the same way. Now we can take a 10 mm and loosen this little nut right here which is going to allow our heat shield to come down. Im going to trim this from here. Im going to trim it about an inch past this hole. Now I want to make sure that I have clearance to my larger access hole here along with the smaller hole thats just behind it on the vehicle. Now that Ive got it trimmed I can put this little nut back on to re-secure the end of our heat shield here. Well move the passenger side and trim that heat shield so that we have access to those same holes. Heres our access hole that were going to be sending our carriage bolt through. The problem is the head doesnt quite fit all the way through. Im going to take a carbide bit and just grind that down a little bit. You can also use a file if you have one. Now it will fit through there. Keep in mind that at this point what well be doing on one side well be repeating on the other side. The first one Ill be fishing it through is going to be this hole right here on the outside of the frame rail so Ill take the coiled portion of it feed it through and push it so that then it will come down through the access hole. Then I can grab one of my 716ths carriage bolts and the big square-hole spacers. Ill thread that into the coils there. Than Ill send that spacer up a little bit so I can send it through first. Then Ill put the carriage bolt through. Then Im going to leave that just back inside there so that it doesnt interfere when were trying to put that hitch up into place. Next Ill go through this hole thats more towards the rear of the vehicle and install another carriage bolt and spacer. When putting these two in on both sides something you want to be aware of is there are these two weld nuts right up here where our exhaust brackets were bolted. You want to make sure that those spacers that are up in there dont get caught on those and leave the bolt off at an angle. Finally Ill be putting the one that goes in our access hole there so Ill feed the carriage bolt through thread it into my fish wire. On this one Ill feed the carriage bolt up first let it go off to the side there and now I can feed the spacer in and then pull it back through into position. Now you want to grab a second set of hands so that you can feed it up into place. You want to feed it over the drivers side first in order to get it past the exhaust and not risk scraping up the underside of the bumper there. Weve got these four holes here. Were going to be using the second and fourth ones coming from the front of the vehicle. Ill feed this fish wire down through and then be able to push it up into place. Make sure to feed through the one on the side as well. You can take one of your flange nuts and get it started onto one of the carriage bolts to help hold it in place. Now well be able to pull our bolt through here on the side of the frame and we can remov,


2026-04-21 в 09:23:57