Похожее видео
×
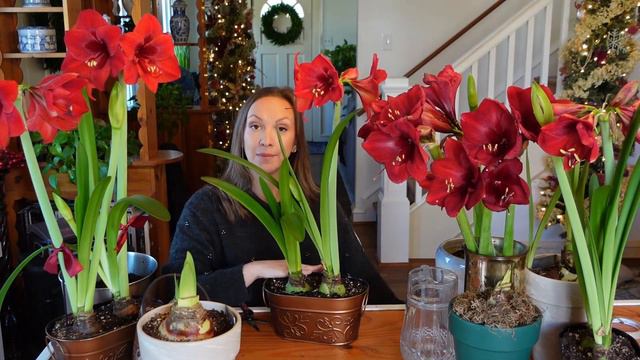
All About Amaryllis
Видео: All About Amaryllis

Лекарственный сад: источник силы и благополучия
Опубликовано: 20.04.2024 | Продолжительность: 00:24:38Amaryllis bulbs may be planted in individual pots or several bulbs may be grouped together in a larger container. Pots should have drainage holes on the bottom so excess water will drain out and the roots wont get waterlogged. To plant a single bulb select a pot that is 7 to 8 deep and 5 to 6 across. Place several inches of potting soil in the bottom of the pot. The bulb will eventually fill this space with its roots. Position the bulb on top of the soil and gently add more soil around the sides. Leave the top half of the bulb exposed and above the soil surface. If you wish you can cover the soil surface with moss or decorative stones. Water well after planting and put the pot in a cool sunny location. From then on water sparingly until the bulb breaks dormancy and produces a sprout. From then on you can water as needed but keep in mind that amaryllis require very little water. Letting the soil surface become dry to the touch between waterings discourages fungus gnats. Amaryllis bulbs may also be grown without soil. Fill a vase or watertight pot with about 5 of pebbles or coarse stone. Add just enough water to cover the stones. Position the bulb on top of the stones so the water is barely touching the bottom of the bulb. Add more pebbles or stones around the bulb to help anchor it leaving the top 13 of the bulb exposed. As water evaporates or is absorbed by the developing roots add more water keeping the level just below the base of the bulb. It can take 4-12 weeks for an amaryllis bulb to wake up and start growing. Timing depends on where the bulb was grown the variety when you plant it and the warmth and amount of light that you provide after planting. Early-blooming amaryllis are grown in the Southern Hemisphere and if planted in early November they should flower by the end of the year. Dutch-grown amaryllis bulbs typically bloom between January and April. When the first sprout emerges from the top of the bulb you can begin watering more frequently but keep the soil barely moist -- never wet. In most cases the bud and stem will emerge first. The leaves usually begin to appear while the bulb is in bloom or shortly after. But dont be concerned if the order is reversed. Turn the pot occasionally to keep the stem growing straight. Once the flowers begin to open move the pot out of direct sunlight. Keeping the flowers cool will extend the show. If you prefer to display your amaryllis flowers in a vase wait until the first couple buds are soft and plump -- just before they open. Then cut the stems to whatever length you like. Cut amaryllis will last as long in a vase as they do when attached to the bulb. Learn more here: How to Use Amaryllis as Cut Flowers. As the flowers fade use scissors to snip them off. Once the entire stem has finished flowering cut it back to just above the bulb. Depending on the size of the bulb it may send up a second or even a third stem with additional flowers. All stems may emerge at approximately the same time or the bulb may rest for a week or two in between. When your amaryllis bulbs have finished flowering you have two options: either discard the bulbs and purchase new ones next year or keep the bulbs growing until they are ready to flower again next winter. If you want to save the bulb for next year heres what to do. Once the flowers have faded cut off the stems so they are about 1 above the top of the bulb. Continue watering as needed to keep the soil barely moist. The bulb will send out a number of long strappy leaves. While youre waiting for the weather to warm up treat your amaryllis like a houseplant. Fertilize every 4-6 weeks using a standard liquid houseplant fertilizer. When spring arrives and the weather has settled several weeks after any danger of frost you can put the pot outdoors in a sunny to partly sunny spot. Alternatively you can plant the bulb directly in the garden. Keep the top 13 of the bulb above soil level. Water and fertilize as needed. During this time the foliage will be producing the energy the bulb requires to form next years blossoms. The bigger and fatter the bulb gets the more flowers it will produce the following winter. When fall approaches and before any danger of frost dig up the bulb or bring the pot indoors. Put it in a cool relatively dark place garage or basement and stop watering. This will tell the bulb that its time to rest and initiate flower formation. After a 6 to 12 week rest gently remove the bulb from the pot and pull off any dry leaves. Replant the bulb in fresh potting soil and care for it as you would a newly purchased bulb.,